Contributed by Yini He & Duoer Zhang
Circuit Design-One Bulb with Two Switches
Introduction
It’s easy for us to connect a switch to a bedside bulb, right? When we turn on the switch, our little bulb turns on. However, does the following sounds familiar to you? Sometimes you are too lazy to move your body to the switch side of the bed to turn on/off your light. (Maybe Duoer and I might be the only lazy ones, haha.) Anyway, we assume you guys are as lazy as us. We are trying to install two switches on each side of our bed to control one bulb.
Let me clarify before we officially go into the experiment. We need to use two switches to control one bulb, which means you can turn your bulb on with switch 1 and then turn off your bulb with switch 2. Let’s start!
Procedure
- Step one (most important part): design the circuit diagram
Try on your own first before you look at my diagram.
The question is, how to control one bulb with two switches? In other words, if the light is off, can you use either of the switch to turn it on? How can we design the circuit to achieve it?
Electricity flows through the closed loop to function. So the point is, where the switches should be in order to create qualified loops and what kind of switch should we use?
Version 1
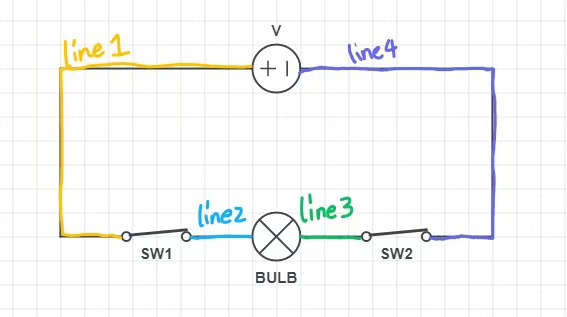
Simply connect two switches, a bulb and the battery together. Does it fulfill the requirement?
No.
If the bulb is off, there might be three situations.
SW1 is open. SW2 is closed.
Switch SW1 will turn on the bulb, but switch SW2 will not. Failed.
SW1 is closed. SW2 is open.
Similarly, failed.
SW1 and SW2 are open.
Switch either of them will not form a closed loop. Failed.
Can you think of other ways to maybe fulfill the requirement?
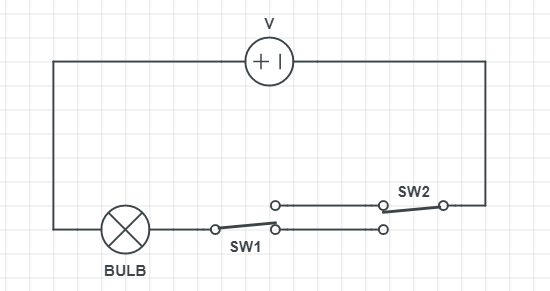
Version 2 (Successful way)
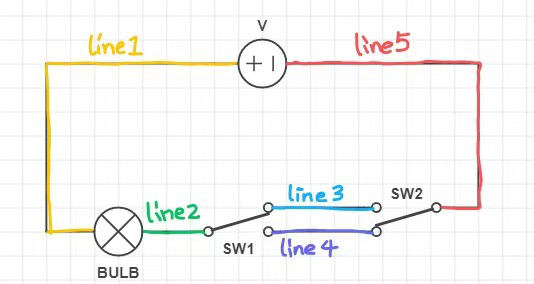
If the bulb is off, there might be two situations.
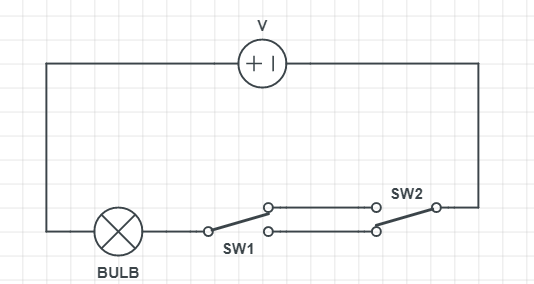
SW1 connects to the top line. SW2 connects to the bottom line.
Switch SW1:
Closed loop(outer). Achieved.
Switch SW2:

Closed loop(inner). Achieved.
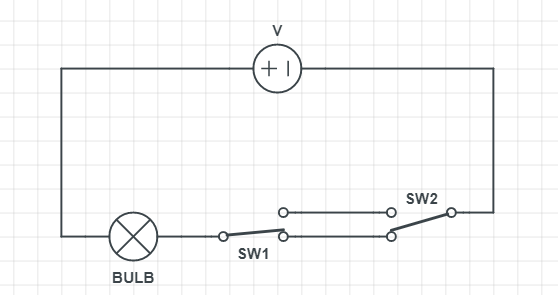
SW1 connected to the bottom line. SW2 connected to the top line.
Switch SW1:
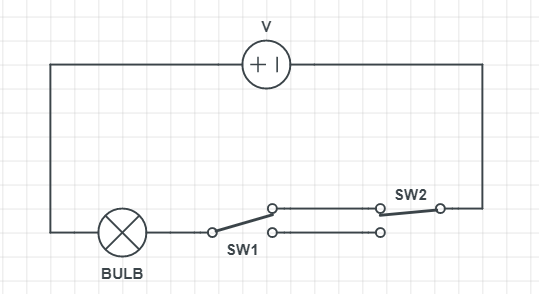
Closed loop(inner). Achieved.
Switch SW2:

Closed loop(outer). Achieved.
That is one way to build a qualified circuit.
- Step two: Based on our design, install it.
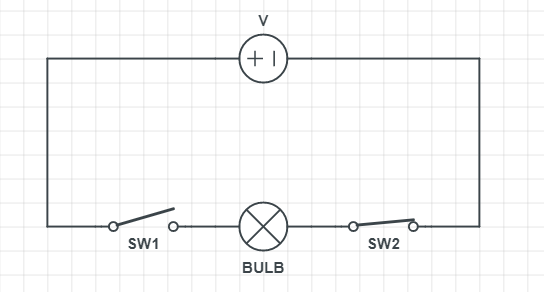
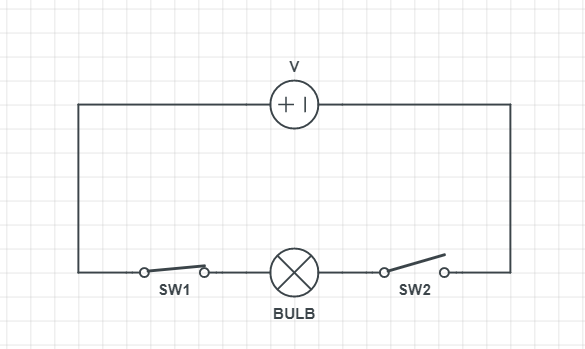
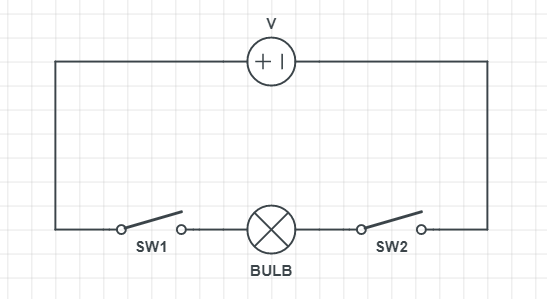
Materials
- Wires
- Two switches(single-pole double-throw switch)
- One Bulb
- battery/power supply

Physics Concepts and Questions
- Question1: What’s the basic idea behind this experiment?
- Answer1: The most fundamental thing behind it is that when electrical current goes through the bulb, our bulb is on. By the same stoken, the bulb is off when there is no current flowing through it. Whether there is current or not depends on whether we forms a closed loop circuit. If there is any break in the circuit, the current cannot go.
Conclusions and Further Investigations
- This experiment ends here, but our exploration to the electrical world is never ending.
- How about exploring the following questions yourself:
- Why can the small bulb shine? What’s the theory behind it?
- What kind of energy transformation is happening when the small bulb shine?
- If I want to have two lights on each side of my bed using four switches to control it, is there anything I may change?